Tuesday, April 24, 2018
Data recovery How to recover deleted photo from Android phone
Step 1
Download GT Recovery for Android from the official website: http://www.gtrecovery.net/:

Step 2
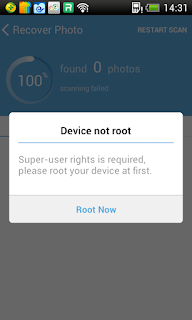
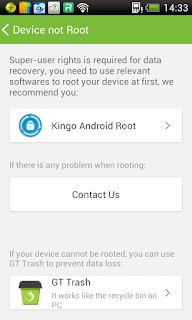
Install and open it, if your device has not been rooted, GT will remind you to root device at first:

Step 5
After scanning, you can choose the photos you need, then click the button on the below to save the chosen file:
Download GT Recovery for Android from the official website: http://www.gtrecovery.net/:
Step 2
Install and open it, if your device has not been rooted, GT will remind you to root device at first:
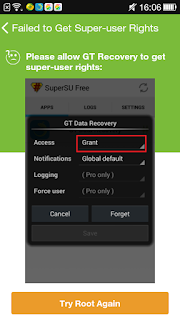
If your device has been rooted but you rejected GT�s application for superuser rights, GT will remind you:
Step 3
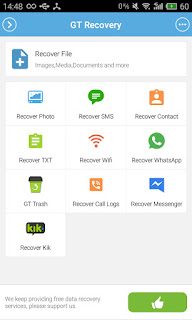
Once the superuser rights is obtained successfully, the home view will be shown. Click �Recover Photo� on homepage:
Once the superuser rights is obtained successfully, the home view will be shown. Click �Recover Photo� on homepage:
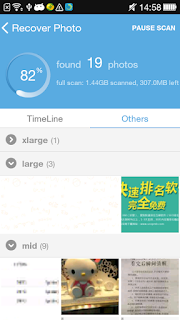
Step 4
Click �Start new scan� to start the scanning process, the photos that can be restored will be shown in the list, you can stop the process any time you want:
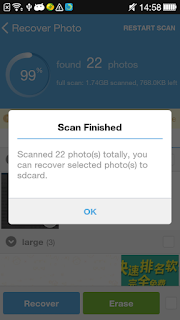
Step 5
After scanning, you can choose the photos you need, then click the button on the below to save the chosen file: